Here is a new idea to update those old light fixtures that you have in your house.
First things first - Assess your lights. If they are ugly, but in good working order, then there is potential there. If not, go buy a pretty new one and replace!
This was your standard brass with white globe, original with the house. Nothing wrong with it(which is pretty good since it was installed in 1982). I was planning on repainting it, but since I decided on a shade, you really wouldn't see it. Ditch the globe. Or save it for another fun project.
Next, find a pretty shade that you love. I found this one at Basket market in the clearance rack. It was missing the bottom trim, so I rummaged through by lace bucket and found this black velvet trim.
Then I had to break out the glue gun.
Start on the lampshade seam, so that the seams will be fluid. Glue a small section at a time and work your way around flattening the trim against the glue to avoid bubbles. I left a 1/2 inch at the top over hang so that once the bottom was glued, I could go back and fold over the edge for support and to cover up the metal ring. Fold trim over and glue down to avoid having a raw edge where you meet the beginning trim.

HLT: Use a Popsicle stick to press edges down to save your fingers from burning while dealing with hot glue.
Since you cannot insert a lampshade behind the light fixture, you will need to create an opening to place next to the light in the framework of the shade. You will need to measure the base of the light fixture. Mine was 5 1/2 inches across. So I centered it one the frame and marked my points.
HLT: If your have bolt cutters, this step will take you about 20 seconds. If not you will need a small hack saw. Using a reciprocating saw will vibrate your shade into destruction. (Yes, I tried it)
So I hack-sawed my way through my points. It took about 15 minutes.
Next, you will need to get these handy little clamps. They are called R-type cable clamps. I was lucky enough to rummage though the toolboxes and come up with just enough. Thanks to my parts hoarding behavior. ;) They should be less than a dollar at any hardware store. Also get screws at least 1" long that will fit your clamps. These will need to bypass the popcorn and into the meat of the drywall ceiling.


Place clamps around shade "arms" and place the shade firmly against the ceiling.
This requires a ladder, drill, screws and some finesse to hold all items up there by yourself. Alternatively, you can grab your nearest tall person to hold said shade for you while you do the attaching. As always, be safe. You may also choose to flip the breaker while installing so there is no electricity free flowing.
HLT: Wear eye protection!!!!!! And also keep your mouth closed while doing this. This will keep you from eating the non-food grade popcorn.
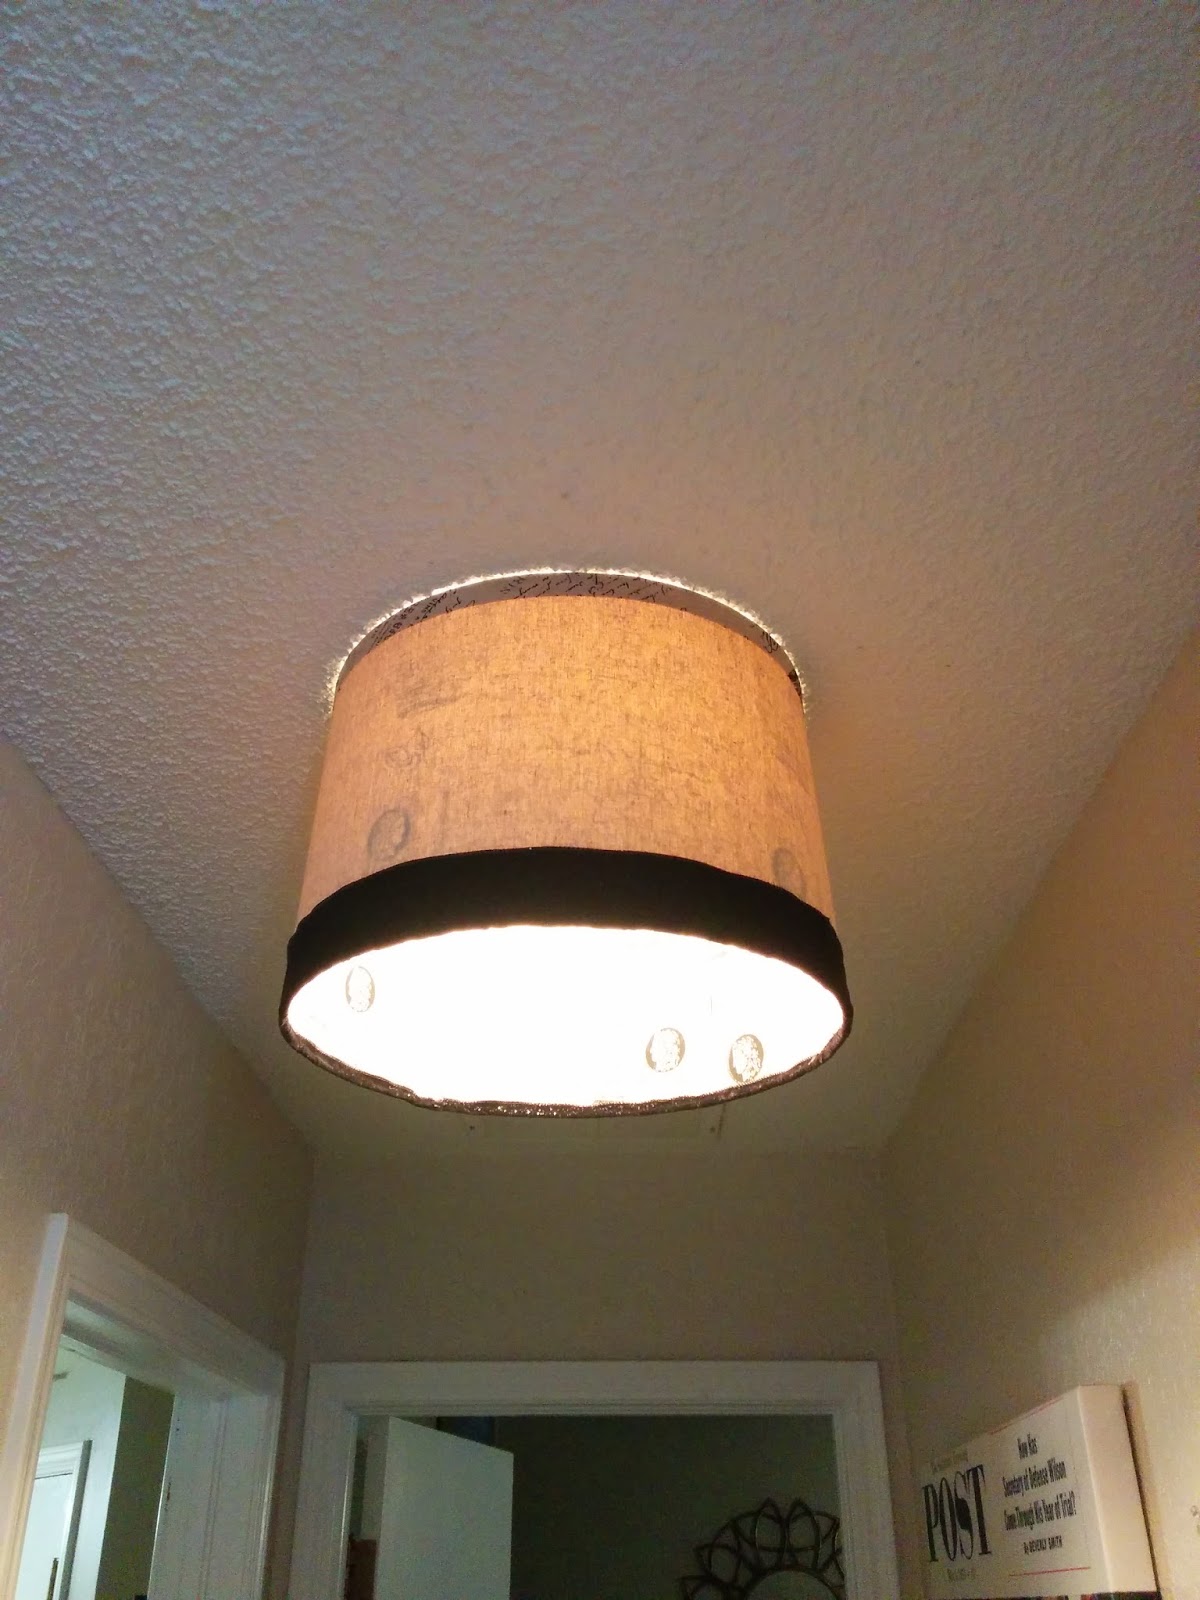
Lastly, screw in securely.
And ENJOY!
Have fun trying new ways to update on a budget!