
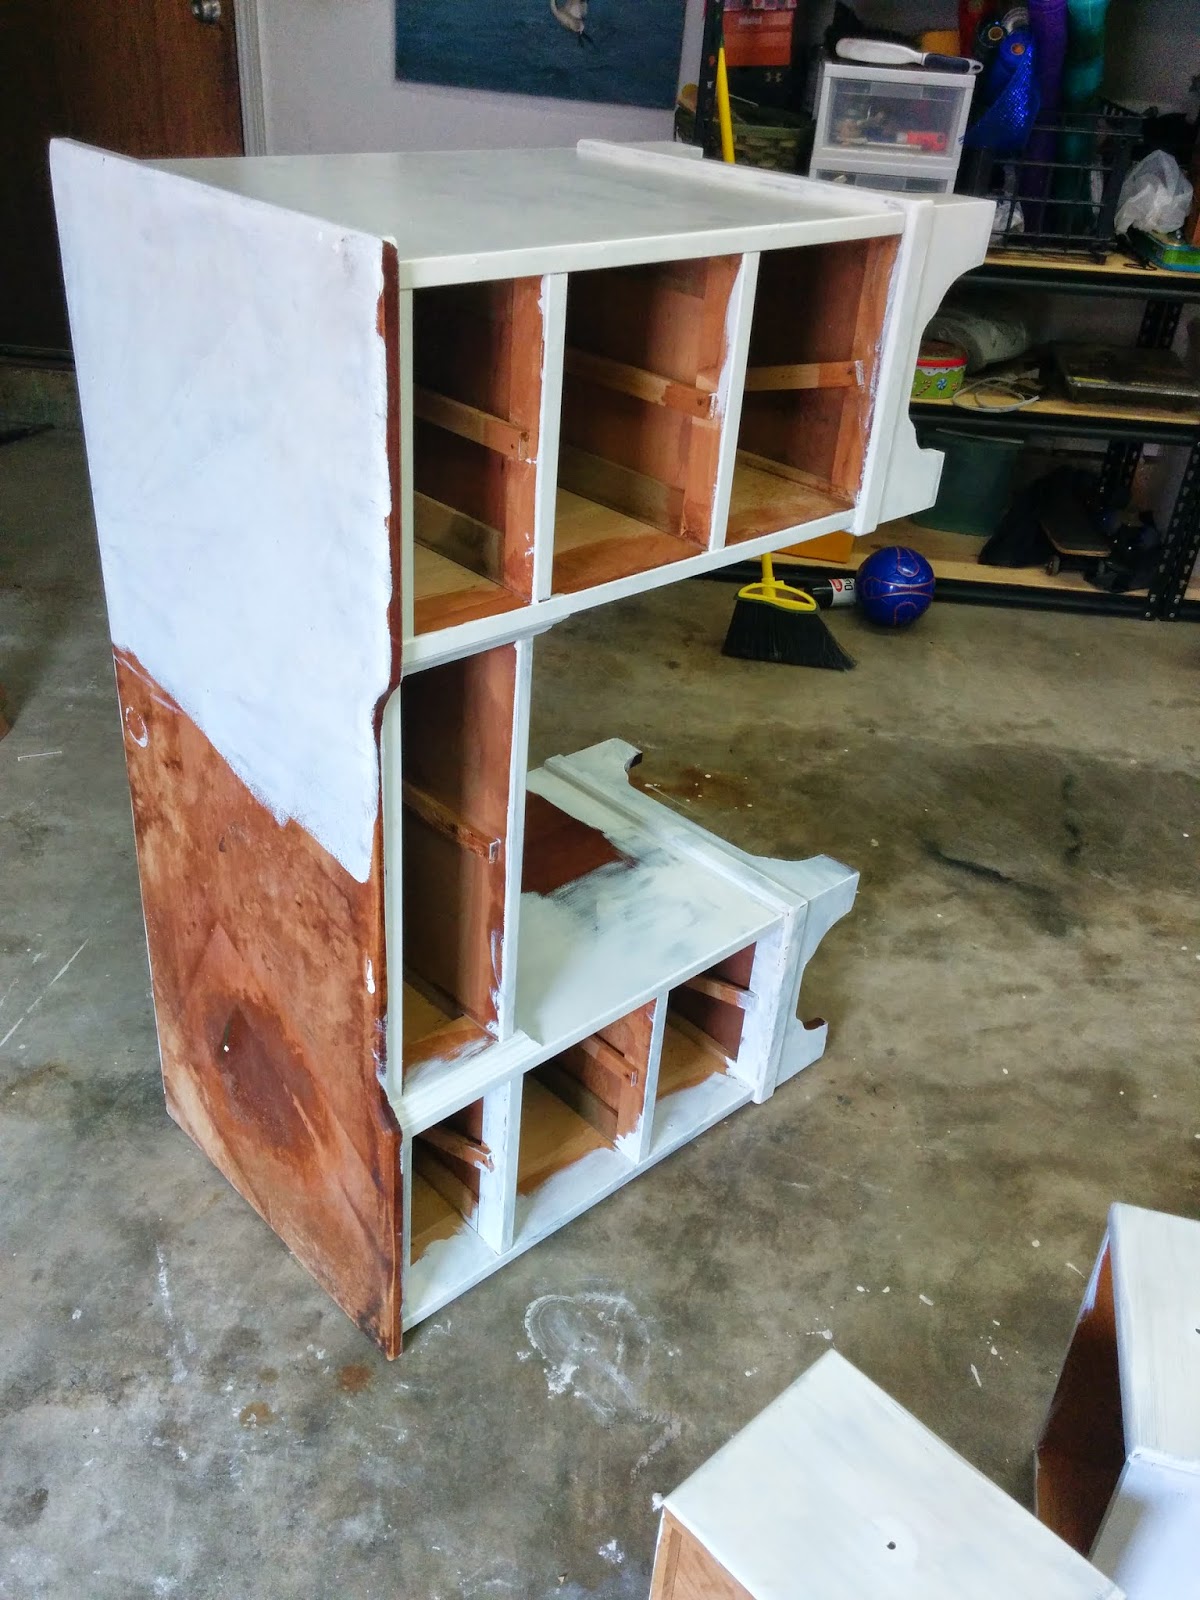
Of course, beauty is in the eye of the beholder, so each piece is beautiful to the maker, and not necessarily to all. I had to keep this in mind when I told my daughter that she could pick out the colors for her desk. Since she is 11, she is pretty much in love with all things Neon and Sparkly. So I found the desk at a thrift shop and knew it would be perfect. This was an a completely wood piece. Laminate is much harder to deal with and tends to fall apart, so I avoid it like the plague. Brought it home and then the real work began:
First: Removed the drawers and hardware (hated the knobs, and luckily 2 were already missing) and then gave the whole piece a good sanding by hand. This not only gets the surface ready to accept the paint, but also gets the years of grime off the piece.
Then came the ELECTRIC LIME paint. That's right. She fell in LOVE with this color at the store so I bought a quart of the Satin finish interior paint. Then, I made her help. :)


We put about 3 coats of paint on the desk. Lime green does NOT cover things well. Of course you get to flip and turn your desk at many angles to get all sides covered. I chose to paint the front and sides but not the inside as the drawers had a lip big enough to cover that part.
Once dry, I then sprayed a layer of clear coat spray paint over the top.
Next: Drawers
They also got a good sanding and primer. But Taylor wanted them to be Florescent Pink so I went with two cans of the Florescent Pink Spray paint. You can find it on the spray paint isle. Now this spray is a bit different. It comes out more like a powder since it is used for marking utility lines and such. WARNING: IT WILL GET EVERYWHERE! I don't care what you lay down to avoid it, it will. The "Powder" doesn't stick right away so if you put down canvas or plastic and then walk around in it..... Well, you get the idea... Yep - I had pink footprints all over my garage and could not get the stuff off of my skin for days! But that is what I get for being craftsy in my bare toes.
Anywho- Once the Pink was dry, it too got a clear coat. Then the masking tape came out and I taped off a cute chevron pattern. The Modge Podge was then excavated from the bottom of the craft closet and I put down a thick layer on the exposed parts. The glitter (one GIANT sized bottle) was then applied on top before it was dry. Gently pat down the glitter to get it all the way into the Modge Podge (Note: this will inevitably leave you with glitter hands) Wash off said Glitter, or at least as much as possible. (You will never get all of it - Accept it and move on).

Purchase some fabulous drawer pulls or knobs (HLT: you can buy them WAY cheaper online than you can in the regular stores) and put it all back together.
Boom Baby! A Fabulous Teen-inspired desk to brighten any boring place!

No comments:
Post a Comment