

I found this two drawer filing cabinet at a garage sale one day and talked the guy down from $10 dollars to $5. *HLT: My garage saling philosophy is this: Never pay full price for anything unless it is already priced at a ridiculously good price. OR the garage sale is raising money for a great cause - Then it is fully acceptable. However, I feel that if the person selling will not let you have it for half of what your interested item is priced at - then they do not really want to let go of it - and you should walk away.
I am a penny pincher when it comes to things like that. This ensures that I do not blow a bunch of money that I do not have to blow, and if I know that I will walk away then I will not get roped into paying too much for something that I might regret later. Prime example: I bought a great pair of gold dress shoes for 50 cents. After wearing them for half a day - I decided that I would rather pull out my arm hairs than suffer anymore of the torturous blisters that those shoes had created. Lesson learned. I was super glad that I was only out two quarters.
Anywho: Back to the filing cabinet.
Step 1: Disassemble. Take out the drawers, remove all the hardware and lock. You will find that this is remarkably easy to do (at least on old filing cabinets). A couple of screws and the lock has a bracket that can be popped off, and VOILA! Take a bit of fine sand paper and lightly sand the entire surface. If there are any scratches, sand a bit further and try to smooth them out.
Step 2: Grab your favorite color of spray paint and give your piece a light coat for your first go round.


Step 3: Fabric Overlay
Choose a fabric that is lightweight and easy to work with. I chose a cotton print that I had in my fabric stash. Make sure to iron out all of the wrinkles so that it will fall smoothly over the front of the drawers.

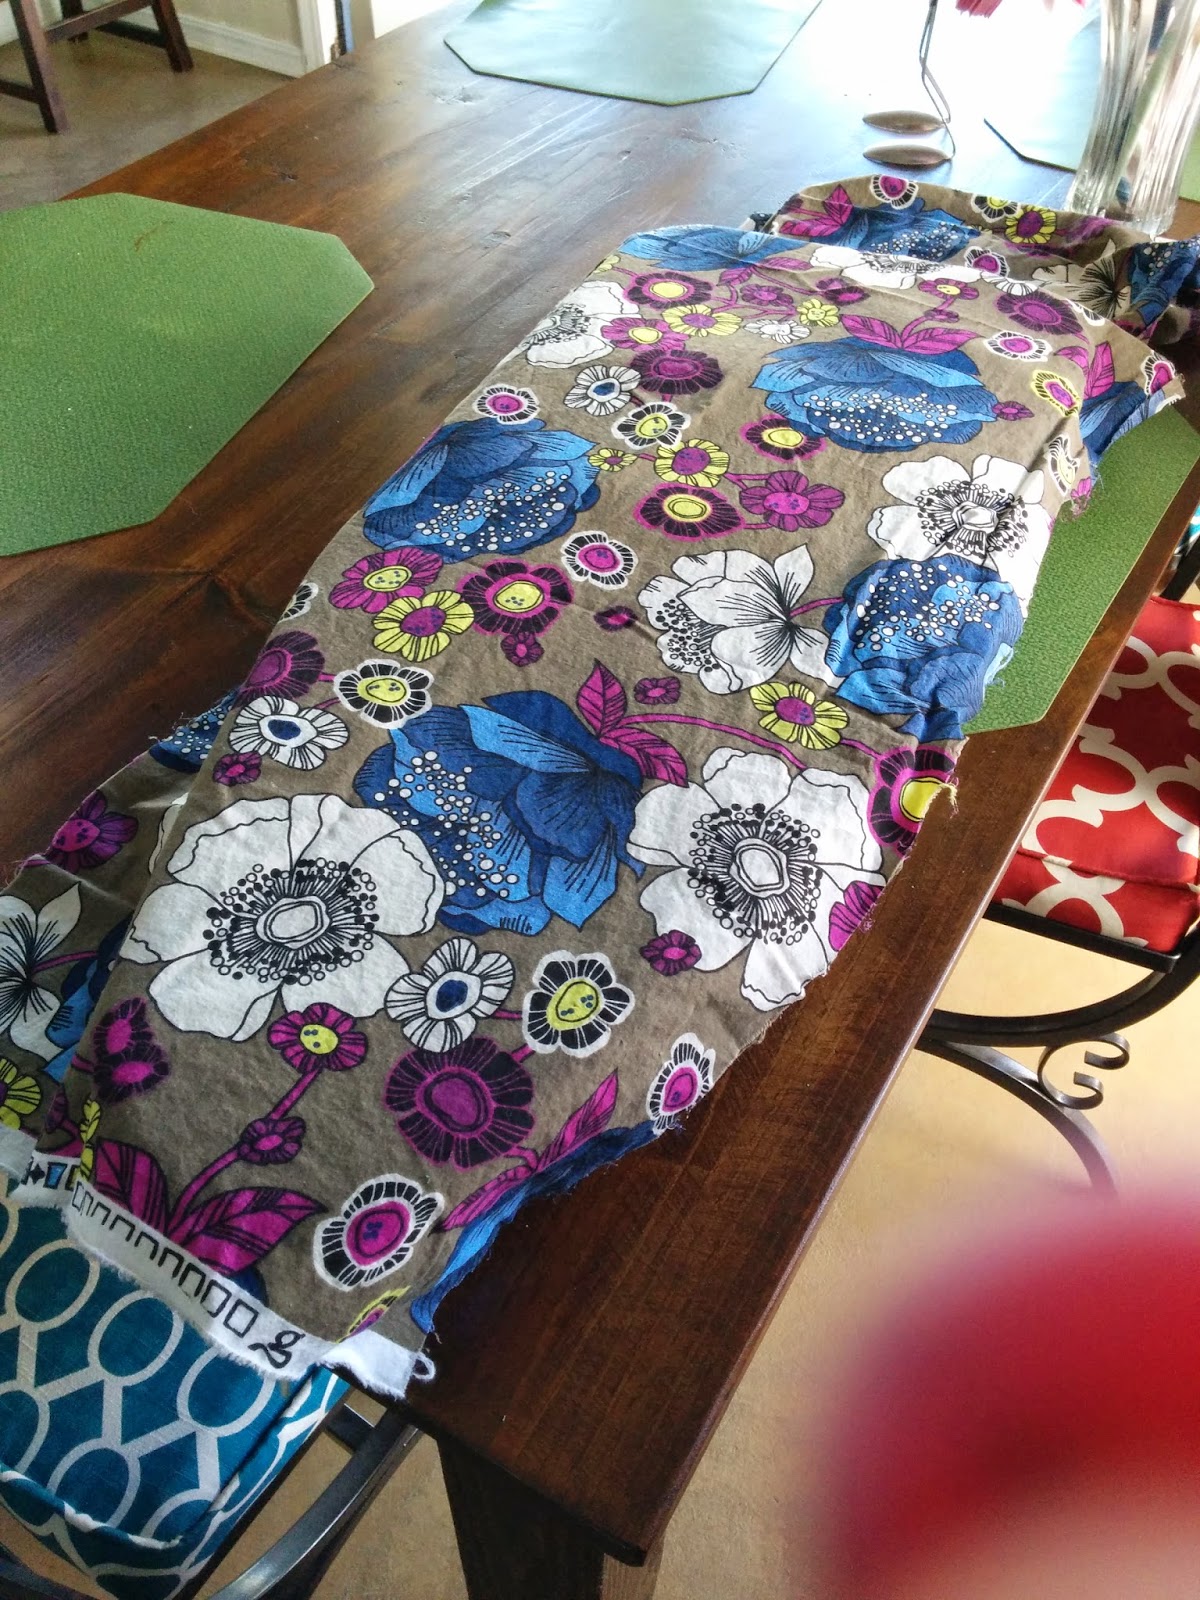

Next lay your fabric out and place drawer front down on top. Cut fabric leaving about 1/2 to 3/4 inch of fabric around all sides.
Modge Podge a good layer onto the front of the drawers. Then place fabric carefully on top, smoothing the fabric out as you go to get any bubbles of modge podge or wrinkles out.
*HLT: You a pampered chef scraper along the top to help with this step. They are super handy.

Step 4: Spray paint your hardware with a coordinating color and let dry. These make take a couple coats as well. Don't forget to clear coat all your spray painted surfaces.

Step 5: Reassemble. Your drawers should slide right back into place. Reattach the hardware. The handles will simply screw back on putting a hole through the fabric where it belongs. The label holders will bend right back in after you make a small slit using a exacto knife. Once through, you will bend the prongs to either side against the metal. I did not put the lock back in because mine did not come with a key, so the fabric covered the hole nicely.


You could choose to paint the insides if you wish, but I chose not to. There are filing stand that you can buy to place in the drawers that will hold files. They are relatively inexpensive.
But now you have a one of a kind filing cabinet that will brighten up any old office! This one in particular is getting donated to my Niece's PTA Silent Auction. Hopefully someone will love it as much as I do.
Thanks for supporting our cause!
ReplyDelete